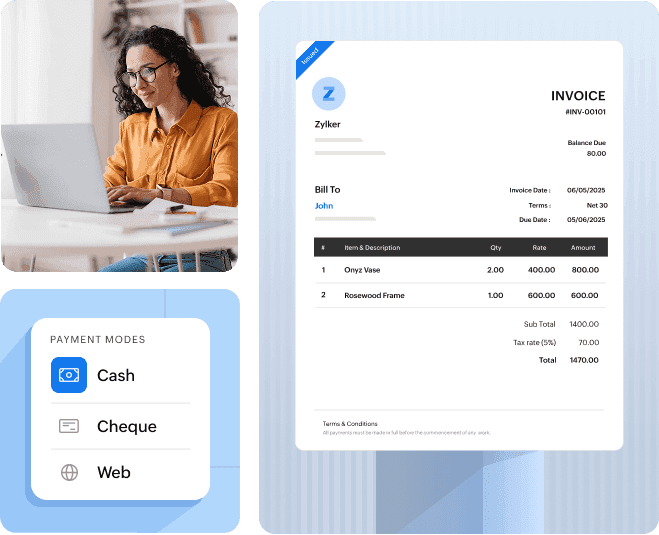
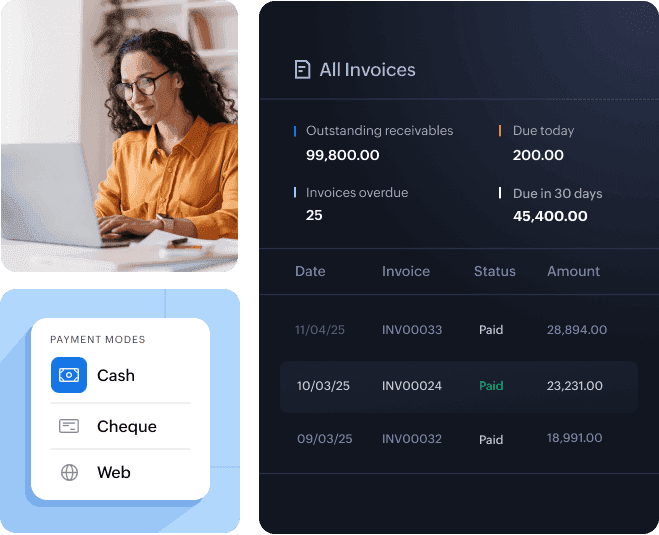
eazybooks' invoicing feature allows you to create and send professional invoices to your customers in few clicks. Ensure you receive payments on time with automated payment reminders and maintain a steady cash flow.
From initial enquiry to final approval, streamline your sales process with professional quotes. eazybooks helps you create a quote, send it to your customer, track its status, and convert it into an invoice — without switching tools.

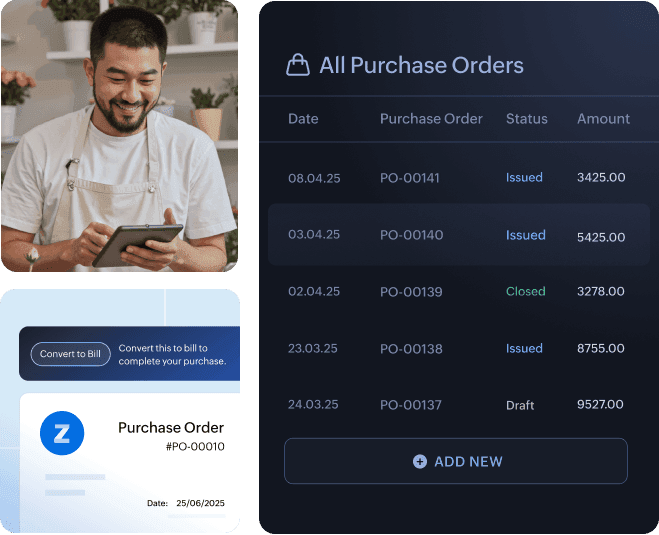
Create purchase orders in minutes, stay on top of your order history and turn them into bills effortlessly using eazybooks.
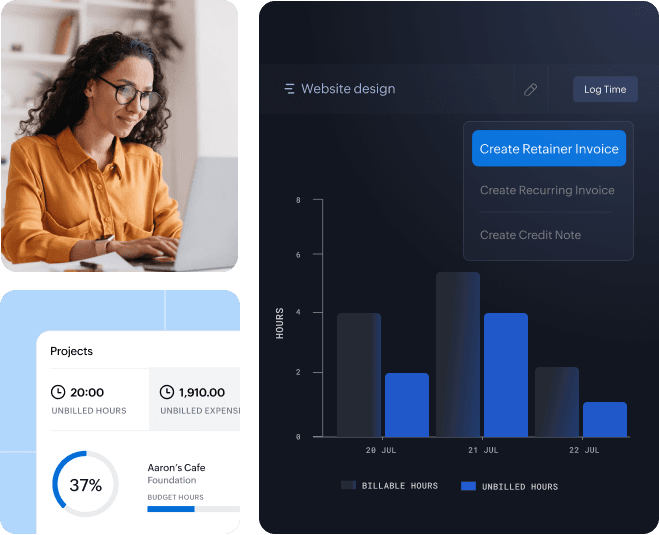
Easy, Online CompManage multiple projects with eazybooks. Log time spent on project tasks, keep track of billable hours with timesheets, and assess project profitability to identify and scale your most profitable projects.
Simplify invoice payments for your customers by allowing them to use credit cards, debit cards, and direct debit payments. Get paid faster—it's simple to set up, and simpler to start collecting!

Build professional and great looking invoices. Attach files and send directly to your clients including the invoice PDF. Invoice with different tax based on item.
Create estimate within a minute. Sent to your customers and wait to accept. Ability to auto convert the estimate to invoice after customer accept.
Manage and invoice projects with the powerful project management feature. Track expenses and time spent on tasks and bill your customers.
Create good looking proposals and impress your potential clients or customers. Include images, tables, youtube vides with the powerful editor.
With the simple Kan Ban you can keep track of leads and easily follow their progress.Attach files, convert lead to customer, auto import leads from email, create proposals, leave notes.
Record and receive payments in different currencies. Auto generated PDF after each recorded payment. Customers can pay you via EFT and Manual Payments.
Step 1 Go to Settings -> fianance and click tax rates
Step 2 Once sales tax is enabled, you can start adding new taxes in accordance with the state you sell products or render your service.
Step 3 Click on +New Tax.
Step 4 Enter a Tax Name, Rate(%) and a Tax Authority (Type to add) for the tax you are adding. Eg: Illinois Department of Revenue.
Step 5 Click on Save.
Yes, you can use eazybooks on a trial. When you sign up for eazybooks, you will be on a 14-day trial period during which you can try out eazybooks. If you find the two weeks insufficient to evaluate our product, you can also extend the trial period by an additional 14 days. Once you’re satisfied with the product, you can upgrade to a paid plan. Or, you can switch to the Free plan, which comes with limited features and usage restrictions.
If you have associated salespersons to your transactions, you can use the Sales by Salesperson report to track the summary of all the invoices and credit notes that different sales persons have created in your organization.
To view this report:
Go to Reports on the left sidebar.
Under Sales, click the Sales by Salesperson report.
Step 1 Log in to your eazybooks account.
Step 2 click customers
Step 3 Select the the customer associated with the invoice
Step 4 Click billing & Shipping next to customer details
Step 5 Add billing and shipping address or click same as customer if the address is the same.
Step 6 Click save then the billing & shipping address will be shown on the PDF document.
Step 1 Log in to your eazybooks account.
Step 2 Go to the Quotes module under Sales in the left sidebar.
Step 3 Select the quote that you want to convert to an invoice.
Step 4 On the quote’s details page, click Convert at the top and select Convert to Invoice from the dropdown.
Step 5 On the New Invoice page, check the details, and make the required changes to the invoice.
Step 6 Click Save as Draft, if you want to send it later, or click Save and Send if you want to send the invoice immediately.
Step 1 Log in to your eazybooks account.
Step 2 View an invoice which has its status as Draft.
Step 3 Navigate to more options
Step 4 In the invoice dropdown menu, click Mark as sent.
Step 5 The status of this invoice will be changed to Sent.
You can associate one salesperson with an existing or a new invoice. To associate a salesperson with a new invoice:
Step 1 Go to the Sales module on the left sidebar and select Invoices.
Step 2 Click + New on the top right corner of the page.
Step 3 On the New Invoice page, enter the necessary details such as the Customer Name, Item Details, and other mandatory details.
Step 4 Click the dropdown in the Salesperson field and click Manage Salesperson to create a new salesperson.
<
To make your logo visible on your invoice, you will have to upload your logo on to the organizational profile of your Zoho Books account. Here’s how:
Step 1 Log in to your eazybooks account.
Step 2 Go to Settings.
Step 3 Select General.
Step 4 Click Upload Your Organization Logo to upload your organization’s logo from your computer.
Step 5 Once you upload your logo, click the Save button for the changes to take effect.
Step 6 Now, your organization logo will be visible in all your transactions.